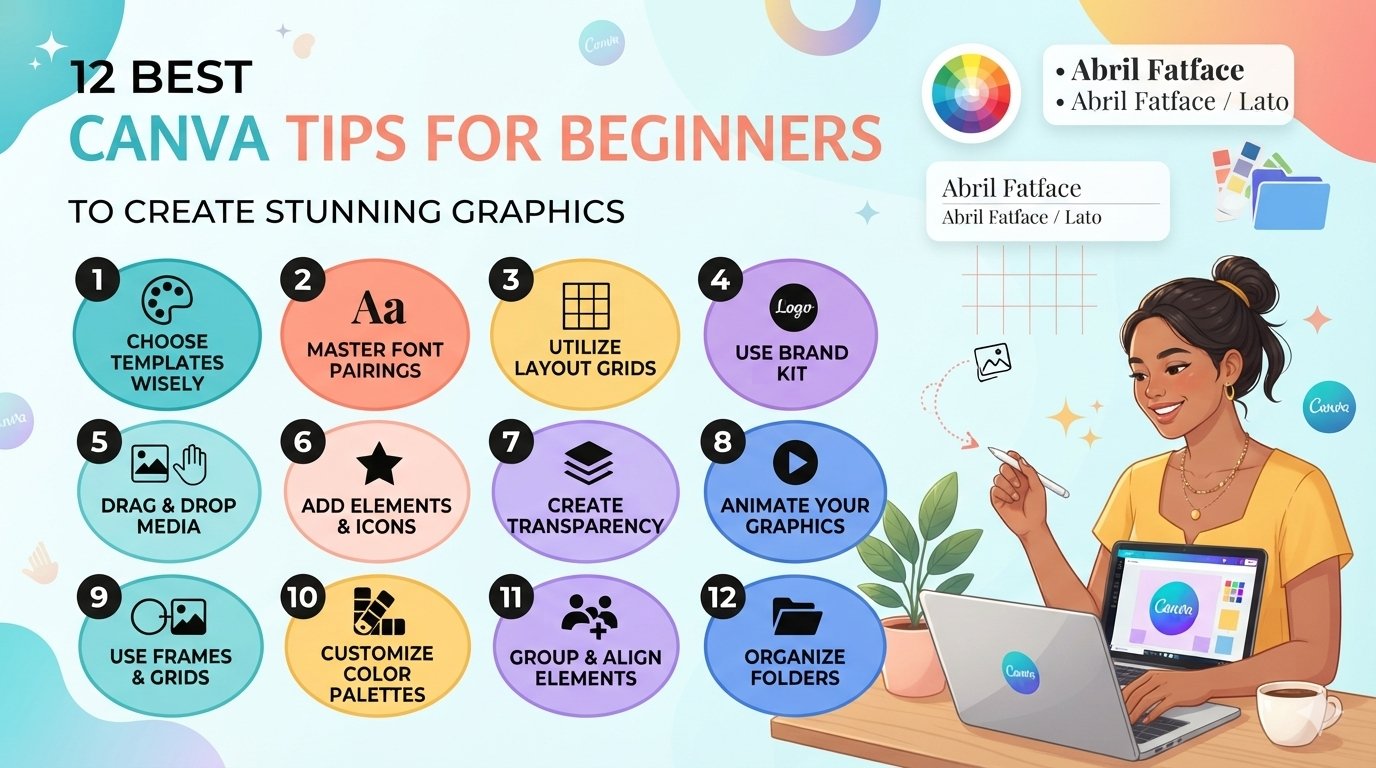
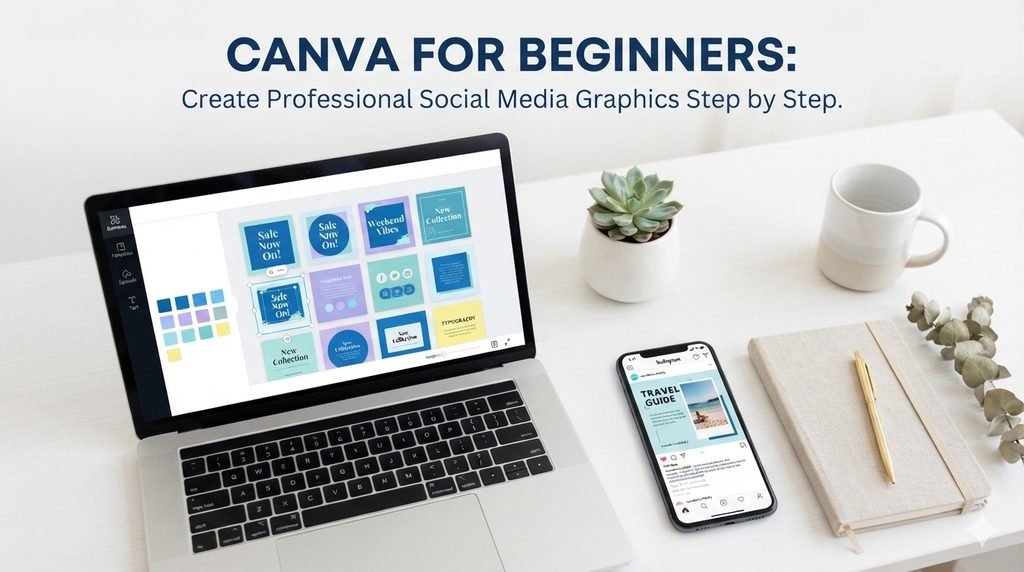
“If you want to grow your business, learning the Canva tips for beginners is essential. Today, information, news, and business activities are increasingly shared through social media graphics. However, working with all these tools is not always easy, and users often need assistance from professional designers.
Canva is different. It is a user-friendly design tool that allows anyone with basic computer knowledge to easily create professional-looking social media graphics without requiring advanced design skills.
With its drag-and-drop editor, ready-made templates, stock photos, fonts, and branding tools, you can design eye-catching Instagram posts, Facebook graphics, YouTube thumbnails, Pinterest pins, and LinkedIn banners in minutes.
This step-by-step Canva tutorial will show you how to create high-quality social media graphics that look consistent, readable, and professional.
Why Use Canva for Social Media Graphics?

Canva is popular because it makes social media design simple for beginners. You do not need advanced Photoshop skills; instead, you can search for a template, replace the text and images, adjust colours, and download the final design. Canva offers a free drag-and-drop editor, more than two million professionally designed templates, stock photos, graphics, and AI-powered creative tools.
For beginners, Canva is especially useful because it supports many content formats. You can create Instagram posts, Reels covers, Stories, Facebook posts, YouTube thumbnails, Pinterest graphics, LinkedIn banners, and short-form videos from one platform.
Key Canva Tips and Benefits for Beginners
- No design experience required: Canva’s editor is built around drag-and-drop editing.
- Ready-made templates: You can start with thousands of social media templates instead of a blank canvas.
- Free plan available: Canva Free includes templates, stock content, and basic design tools.
- Brand consistency: Canva Pro’s Brand Kit helps store logos, fonts, colours, and brand assets in one place.
- Multi-platform resizing: Canva Pro’s Magic Resize lets you adapt one design for different social platforms.
Step 1: Create Your Canva Account

To begin using Canva for beginners, go to Canva’s website or download the Canva mobile app. Create a free account using Google, email, or another available sign-in option.
Once logged in, you will see the Canva homepage. From here, you can search for a design type such as “Instagram Post”, “Facebook Post”, “YouTube Thumbnail”, or “Pinterest Pin”.
Canva Free is enough for most beginners who want to create simple social media graphics. Canva Pro adds advanced features such as brand kits, magic resize, background removal, and premium templates.
Step 2: Choose the Right Social Media Size
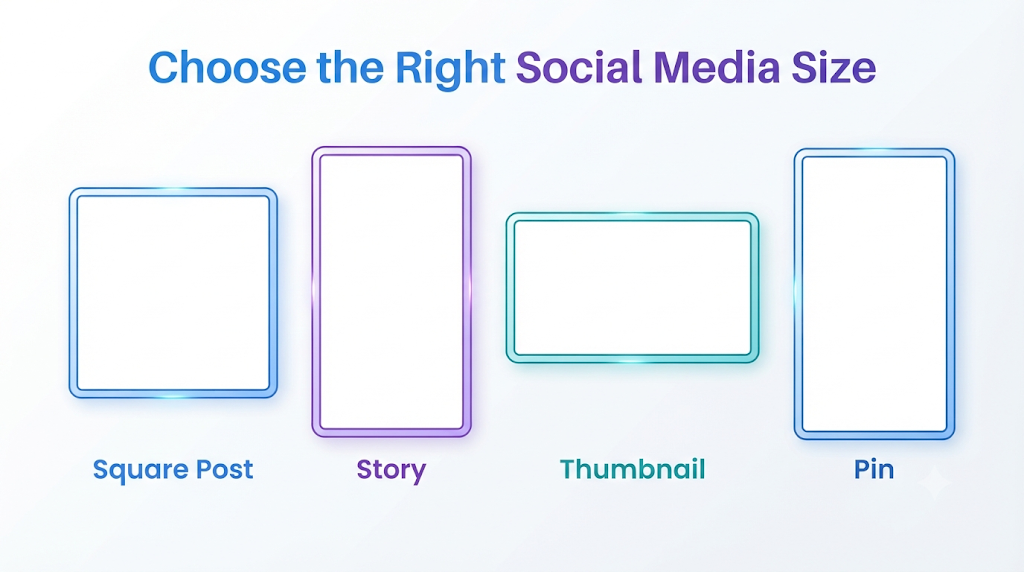
Choosing the correct canvas size is the first important step in creating professional social media graphics. Each platform has different recommended dimensions, and using the wrong size can make your design look cropped, stretched, or unprofessional.
Canva provides preset sizes for major platforms, so beginners do not need to memorise pixel dimensions. You can select a format such as Instagram Post, Instagram Story, Facebook Post, YouTube Thumbnail, or Pinterest Pin directly from the template search page.
Common Social Media Graphic Formats
- Instagram Post: Best for square or portrait feed graphics.
- Instagram Story/Reel: Best for vertical mobile-first designs.
- Facebook Post: Ideal for announcements, offers, quotes, and event promotions.
- YouTube Thumbnail: Best for clickable video titles and bold visuals.
- Pinterest Pin: Great for blog promotion, tips, checklists, and tutorials.
- LinkedIn Banner: Useful for personal branding and professional pages.
If you plan to publish the same message on multiple platforms, create the main design first and resize it later. Magic Resize can convert one design into several platform-specific sizes, although this feature is available on paid Canva plans.
Step 3: Select a Canva Template
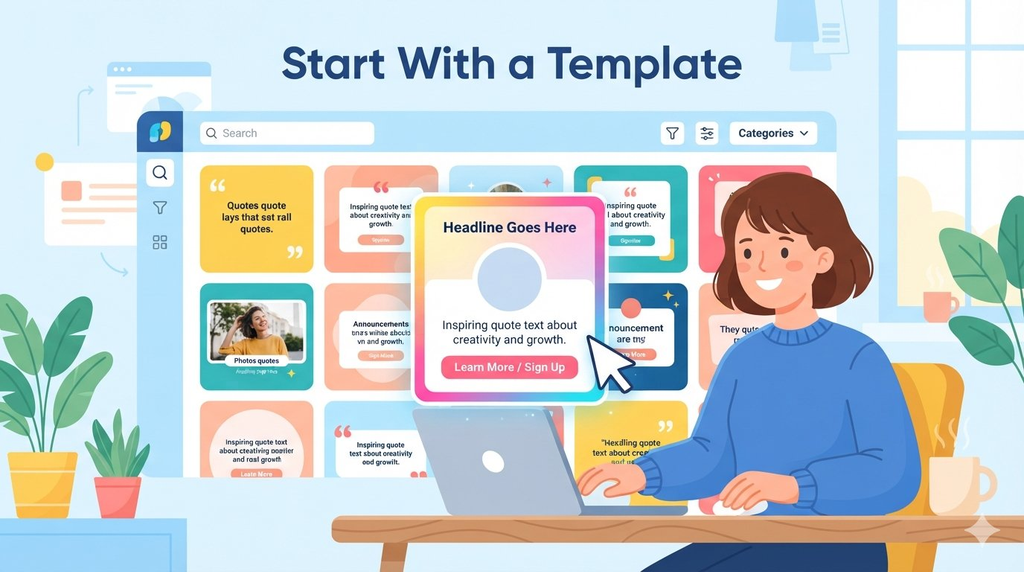
Templates are the fastest way for beginners to create professional social media graphics. Instead of designing from scratch, search for a relevant keyword such as “motivational quote Instagram post”, “sale announcement Facebook post”, or “YouTube thumbnail tutorial”.
Canva allows you to search templates using descriptive words and filter by design type. After selecting a template, every element inside it can be customised, including text, colours, images, icons, and layout.
How to Choose a Good Template
- Choose a template that matches your content goal.
- Select a layout with clear space for your main message.
- Avoid templates with too many competing colours or fonts.
- Pick a design that fits your brand personality.
- Make sure the template is marked ‘free’ if you are using Canva Free.
A simple template with one headline, one supporting image, and one call to action usually performs better than a cluttered design.
Step 4: Set Up Your Brand Colours
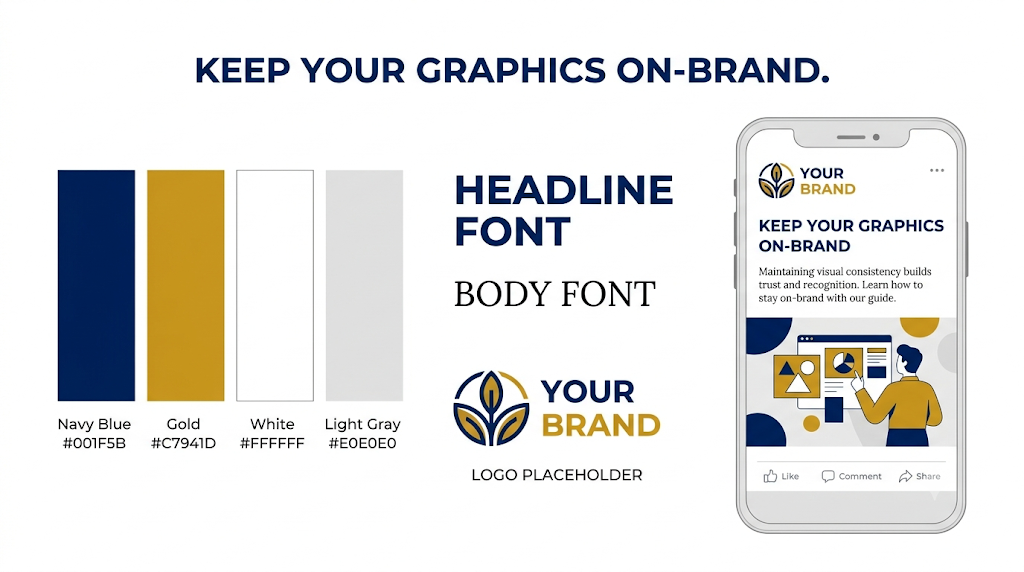
Brand colours make your social media graphics recognisable. When followers repeatedly see the same colour palette, they begin to associate those colours with your business, blog, or personal brand.
In Canva, click any colour element in your template and choose a new colour from the colour panel. You can also enter a custom HEX code if you already have brand colours.
Simple Colour Rule for Beginners
Use a limited colour palette:
- One primary brand colour
- One secondary accent colour
- One neutral background colour
- One high-contrast text colour
For example, if your brand uses navy blue and gold, use navy for the background, gold for highlights, and white for readable text. Consistent colours are a major part of professional social media design.
Canva Pro users can save these colours in the Brand Kit, making it easier to apply the same visual identity across future designs.
Step 5: Add Clear and Readable Text
Text is one of the most important parts of a social media graphic. People often scroll quickly, so your main message should be readable within a few seconds.
Use one strong headline that communicates the benefit or main idea. Avoid long paragraphs inside the graphic; save detailed explanations for your caption, blog post, or video description.
Text Design Tips
- Use a maximum of two fonts in one design.
- Make the headline larger than supporting text.
- Keep important text away from the edges.
- Use high contrast between text and background.
- Avoid script fonts for long sentences.
- Check readability on a mobile phone before publishing.
Canva’s Text panel includes headings, subheadings, and body text options. You can search font styles or use preset text combinations to create a balanced layout.
Step 6: Use High-Quality Images and Elements
Images, icons, illustrations, and shapes help make social media graphics more engaging. Canva includes a large library of stock photos, graphics, videos, icons, and design elements, though some items are free while others require Canva Pro or a one-time purchase.
To add an image, open the Elements or Uploads panel. You can search Canva’s library or upload your own photos, logos, and illustrations. Uploaded media can be cropped, resized, filtered, and placed inside frames for a polished look.
Image Tips for Professional Graphics
- Use sharp, well-lit photos.
- Avoid pixelated or low-resolution images.
- Keep faces and important objects visible after cropping.
- Use icons only when they support the message.
- Do not overload the design with too many stickers or shapes.
If you are promoting a product, service, blog post, or personal brand, original photos often look more trustworthy than generic stock images.
Step 7: Arrange Your Design Layout
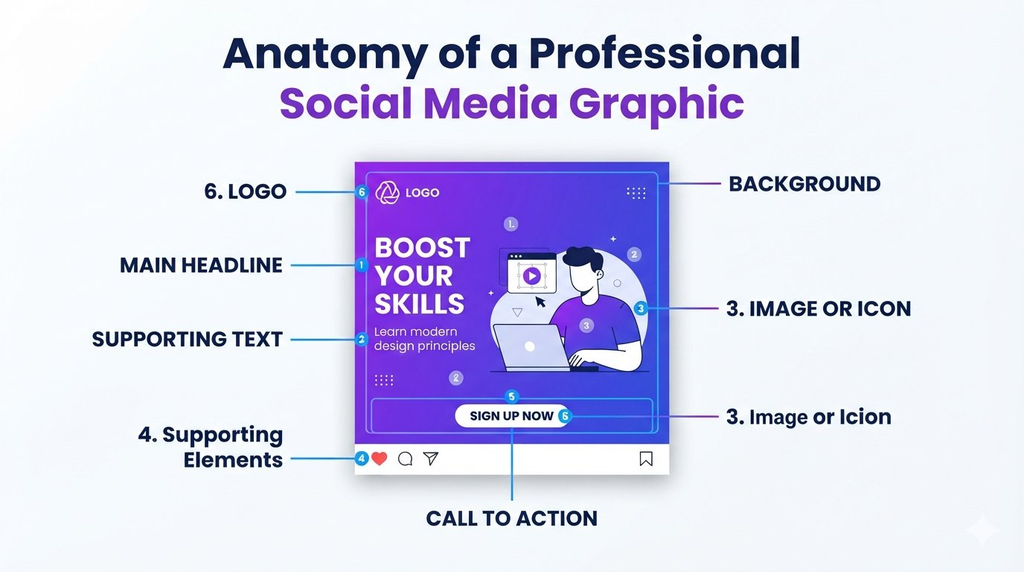
A professional social media graphic needs visual balance. Your headline, image, logo, and call to action should be arranged so the viewer’s eye moves naturally through the design.
Start by placing your main image or background. Then add the headline, followed by supporting text and branding elements. Use Canva’s alignment guides to keep elements neat and centred.
Beginner-Friendly Layout Formula
- Background: Solid colour, gradient, photo, or subtle texture.
- Main headline: Short, bold, and easy to read.
- Supporting detail: One line explaining the offer, tip, or benefit.
- Visual element: Photo, icon, product image, or illustration.
- Call to action: “Save this post”, “Shop now”, “Learn more”, or “Follow for tips”.
- Logo or handle: Small and placed consistently.
Canva lets you move, resize, crop, and align elements easily. You can also select an element and enter exact pixel values under Position settings for precise placement.
Step 8: Keep Your Design On-Brand
On-brand social media graphics build trust and recognition. Your audience should be able to identify your content even before seeing your username.
Use the same fonts, colours, logo placement, and photography style across your posts. This is especially important for businesses, creators, coaches, and bloggers who publish content regularly.
Canva’s Brand Kit is designed to store logos, colours, fonts, imagery, templates, and brand guidelines in one place. This feature is part of Canva Pro and helps maintain consistency across multiple designs.
Branding Checklist
- Use the same primary font for headlines.
- Use the same colour palette across posts.
- Place your logo in a consistent corner.
- Use similar photo filters or editing styles.
- Keep spacing and margins consistent.
- Avoid changing your visual style too often.
Step 9: Add a Strong Call to Action
Every professional social media graphic should tell the viewer what to do next. A clear call to action, or CTA, improves engagement and helps turn viewers into followers, subscribers, customers, or website visitors.
Your CTA should match the goal of the post.
Examples of Effective CTAs
- “Save this Canva tutorial.”
- “Share this with a beginner designer.”
- “Click the link in bio.”
- “Shop the new collection.”
- “Comment YES for more tips.”
- “Follow for daily social media design ideas.”
- “Watch the full video on YouTube.”
Keep the CTA short, visible, and relevant. Do not add too many actions to one graphic; one clear instruction is usually more effective.
Step 10: Review Your Design Before Downloading
Before exporting your social media graphic, review it carefully. Small mistakes such as spelling errors, uneven spacing, low-contrast text, or cropped logos can make an otherwise good design look unprofessional.
Check your design on both desktop and mobile. Since most people view social media on phones, mobile readability is essential.
Final Design Checklist
- Is the headline easy to read?
- Are there any spelling or grammar mistakes?
- Is the text large enough for mobile viewers?
- Are the colors consistent with your brand?
- Is the image high quality?
- Is the logo visible but not distracting?
- Does the call to action stand out?
- Are all elements properly aligned?
Canva allows real-time collaboration, so you can also share the design with a teammate or client for feedback before publishing.
Step 11: Download and Publish Your Graphic
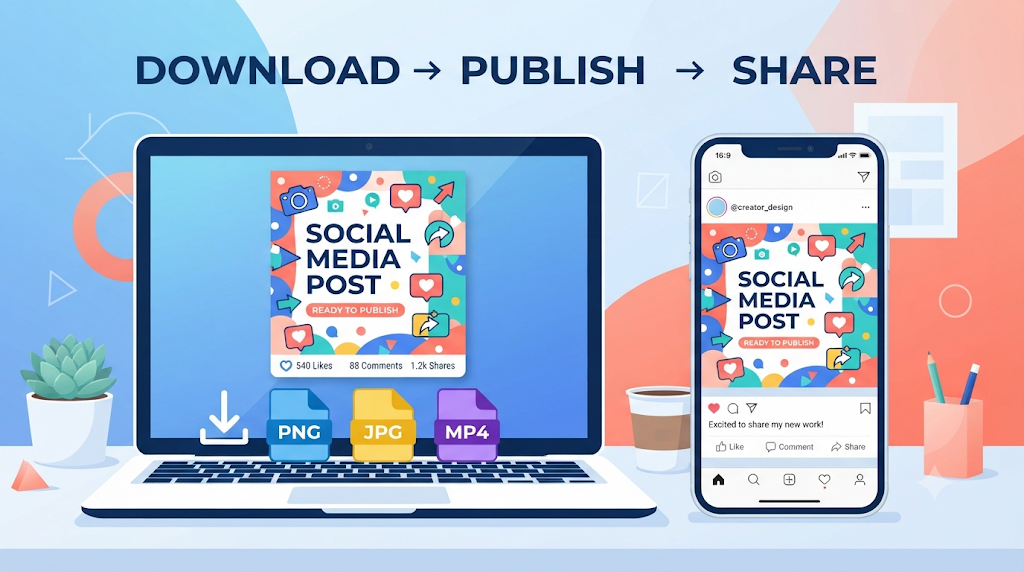
When your design is ready, click Share and choose Download. Canva supports different file formats, so choose the format based on where you will publish the graphic.
Best Export Formats: Canva Tips for Beginners
- PNG: Best for social media images with text, logos, and sharp details.
- JPG: Suitable for standard photos and smaller file sizes.
- PDF: Useful for printable designs and documents.
- MP4: Best for animated posts and social media videos.
Canva also allows users to share designs directly to social platforms or copy a shareable link. For the best quality, download social media graphics as PNG at high resolution, especially when your design includes text.
Step 12: Resize One Design for Multiple Platforms
Creating separate designs for every platform takes time. Canva’s Magic Resize feature helps solve this problem by converting a design into multiple sizes for different channels.
With Magic Resize, you can create one main graphic and adapt it for Instagram, Facebook, Pinterest, YouTube, and other platforms. The feature is available on Canva Pro, Teams, Education, and Nonprofit plans.
After resizing, always review the new version. Text and images may need small adjustments because layouts do not always transfer perfectly between aspect ratios.
Common Canva Tips for Beginners: Mistakes to Avoid
Even with easy tools, beginners often make design mistakes that reduce the professional look of their social media graphics.
- Using too many fonts: Stick to one or two fonts.
- Adding too much text: Keep the graphic simple and readable.
- Ignoring contrast: Text must stand out from the background.
- Using low-quality images: Blurry visuals reduce credibility.
- Overusing effects: Shadows, gradients, and animations should support the message, not distract from it.
- Forgetting branding: Always include your logo, handle, or website where appropriate.
- Not checking mobile view: Most social media users browse on phones.
Avoiding these mistakes will instantly improve the quality of your social media graphics.
Best Canva Design Tips for Professional Results
To create scroll-stopping social media graphics consistently, follow these practical Canva tips:
- Design one reusable template for each content type.
- Create a simple brand style guide before designing.
- Use white space to make content easier to read.
- Keep headlines under seven words when possible.
- Use bold colors for promotions and softer colors for educational posts.
- Save your best-performing designs as templates.
- Batch-create a week of graphics in one sitting.
- Test different layouts, colours, and headlines to learn what your audience prefers.
Canva’s template library, drag-and-drop editor, and AI-assisted tools help beginners create content quickly without sacrificing visual quality.
Final Thoughts
Canva for beginners is an excellent tool for creating professional social media graphics step by step. By choosing the right template, using consistent brand colors, adding readable text, selecting high-quality visuals, and exporting in the correct format, you can design content that looks polished and performs well on social media.
Start with one simple design, follow the steps in this Canva tutorial, and gradually build a library of reusable templates. With practice, you will be able to create professional social media graphics for Instagram, Facebook, YouTube, Pinterest, and LinkedIn in less time.